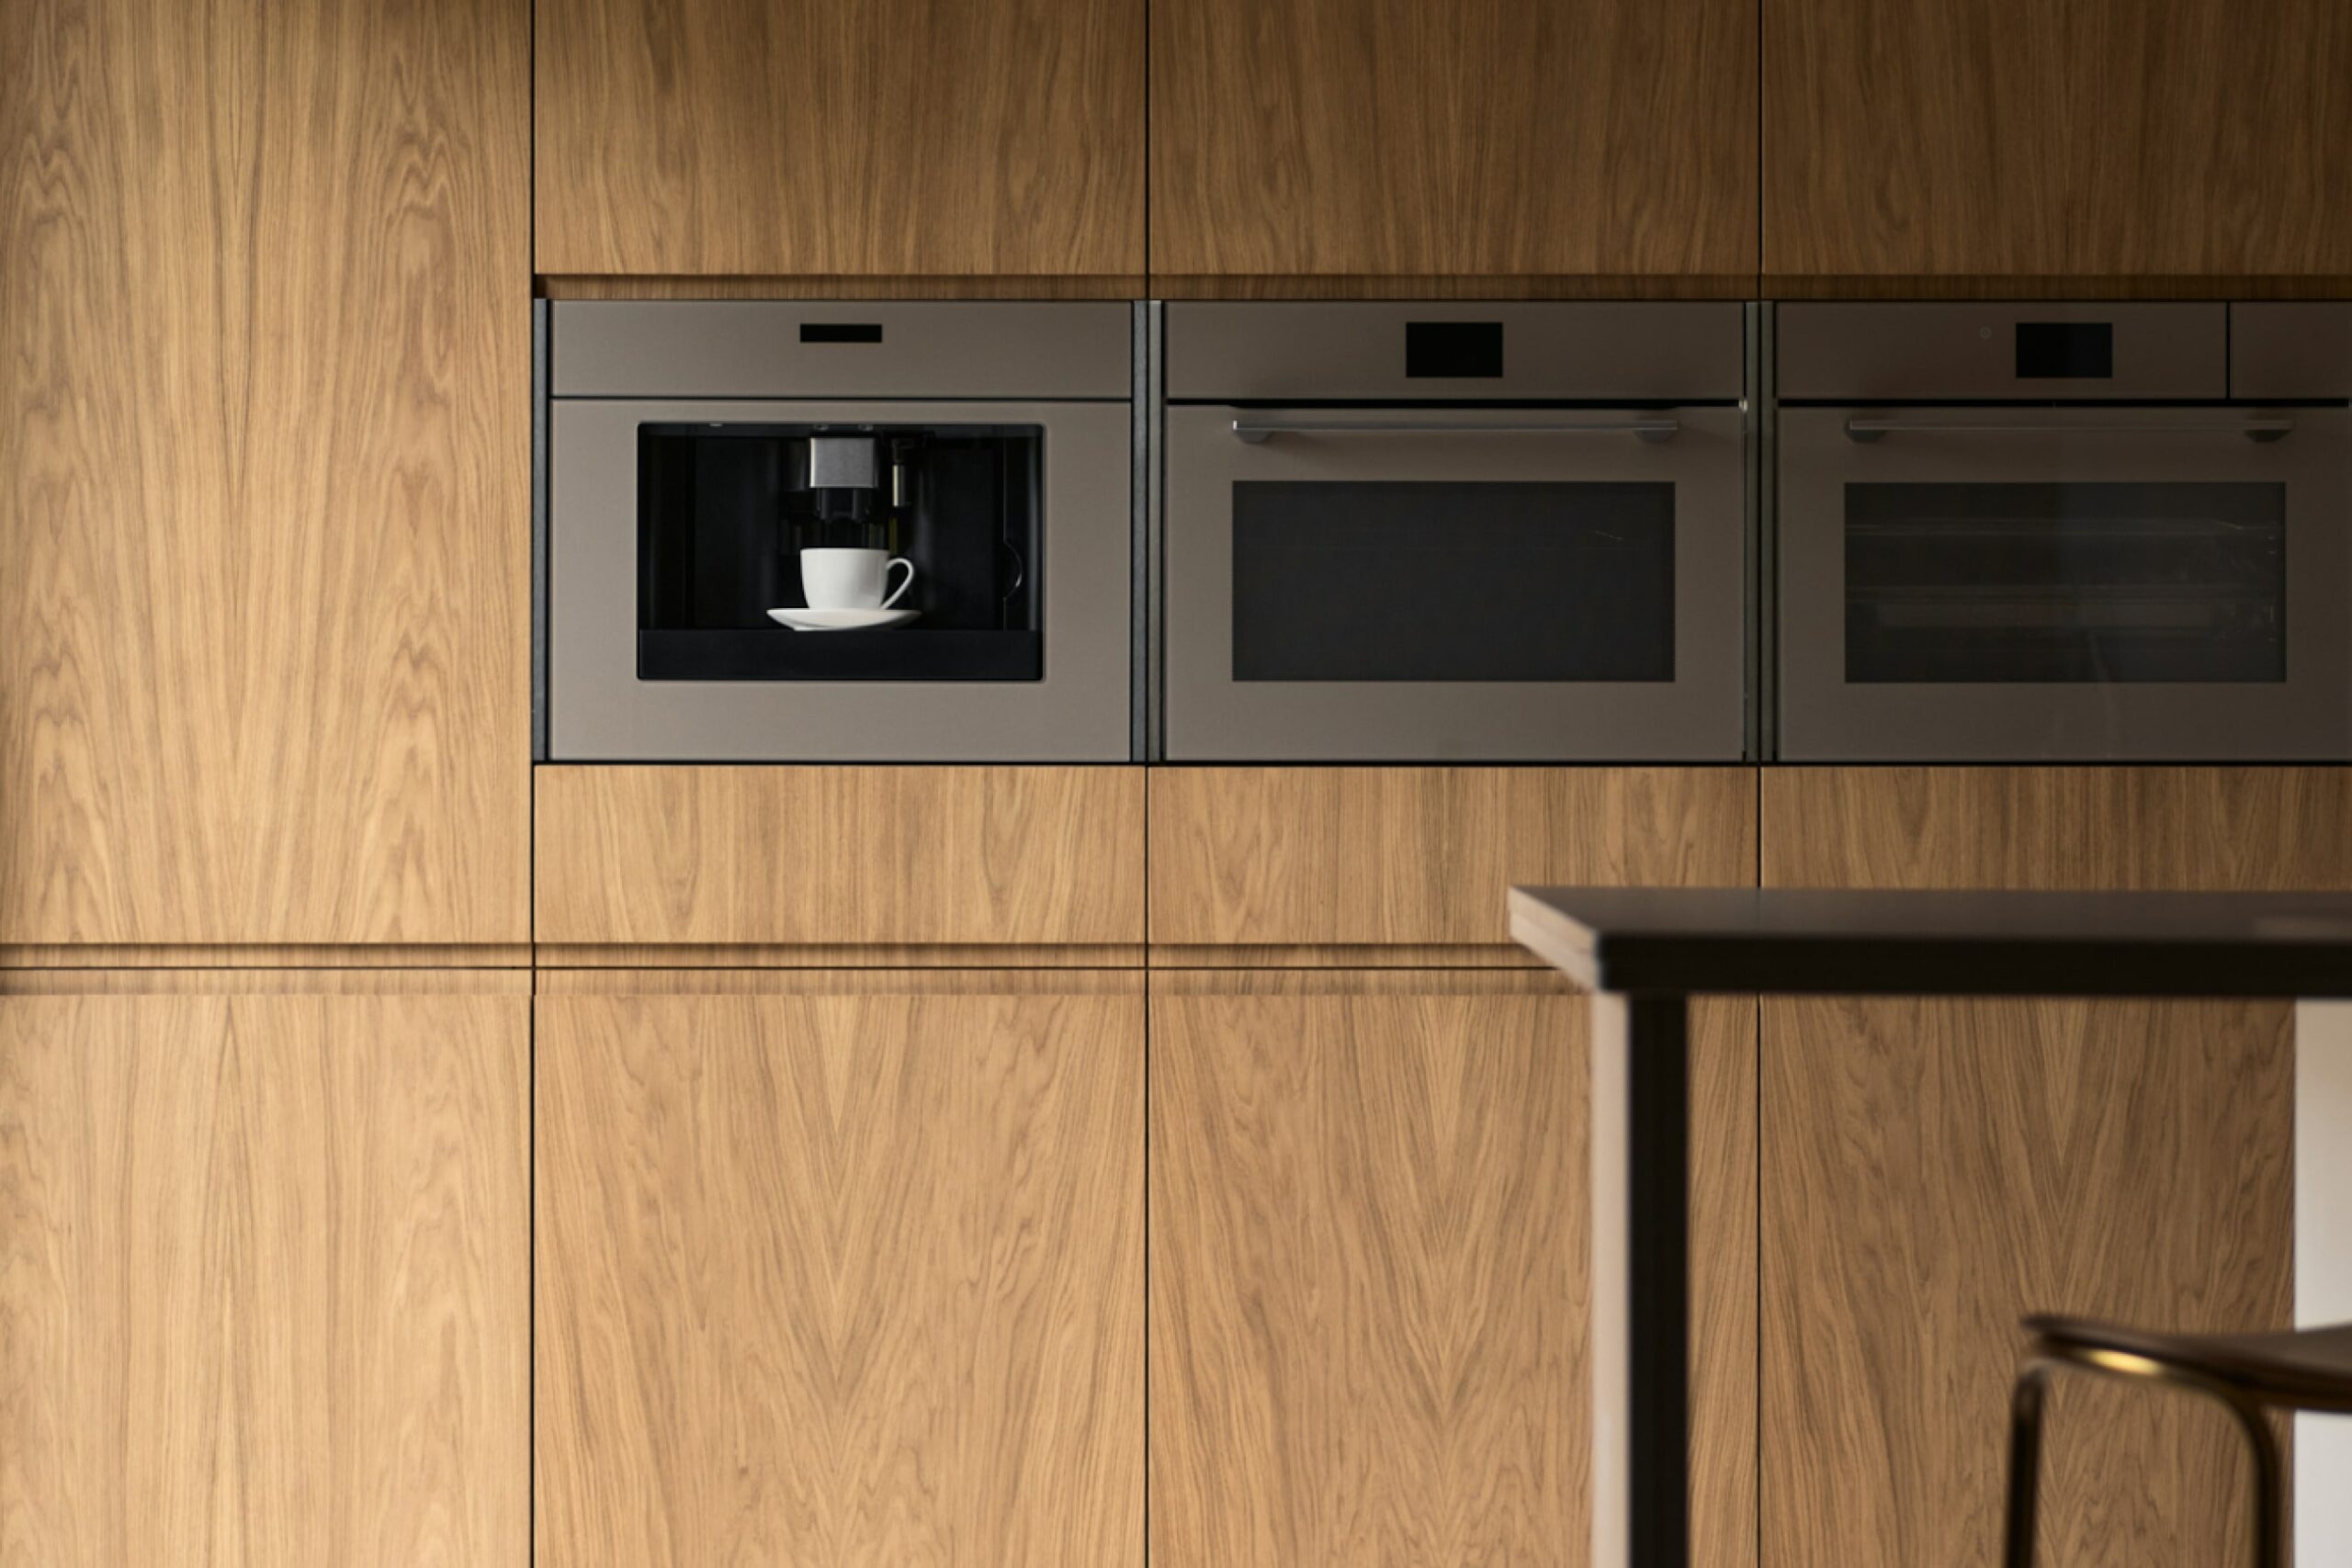
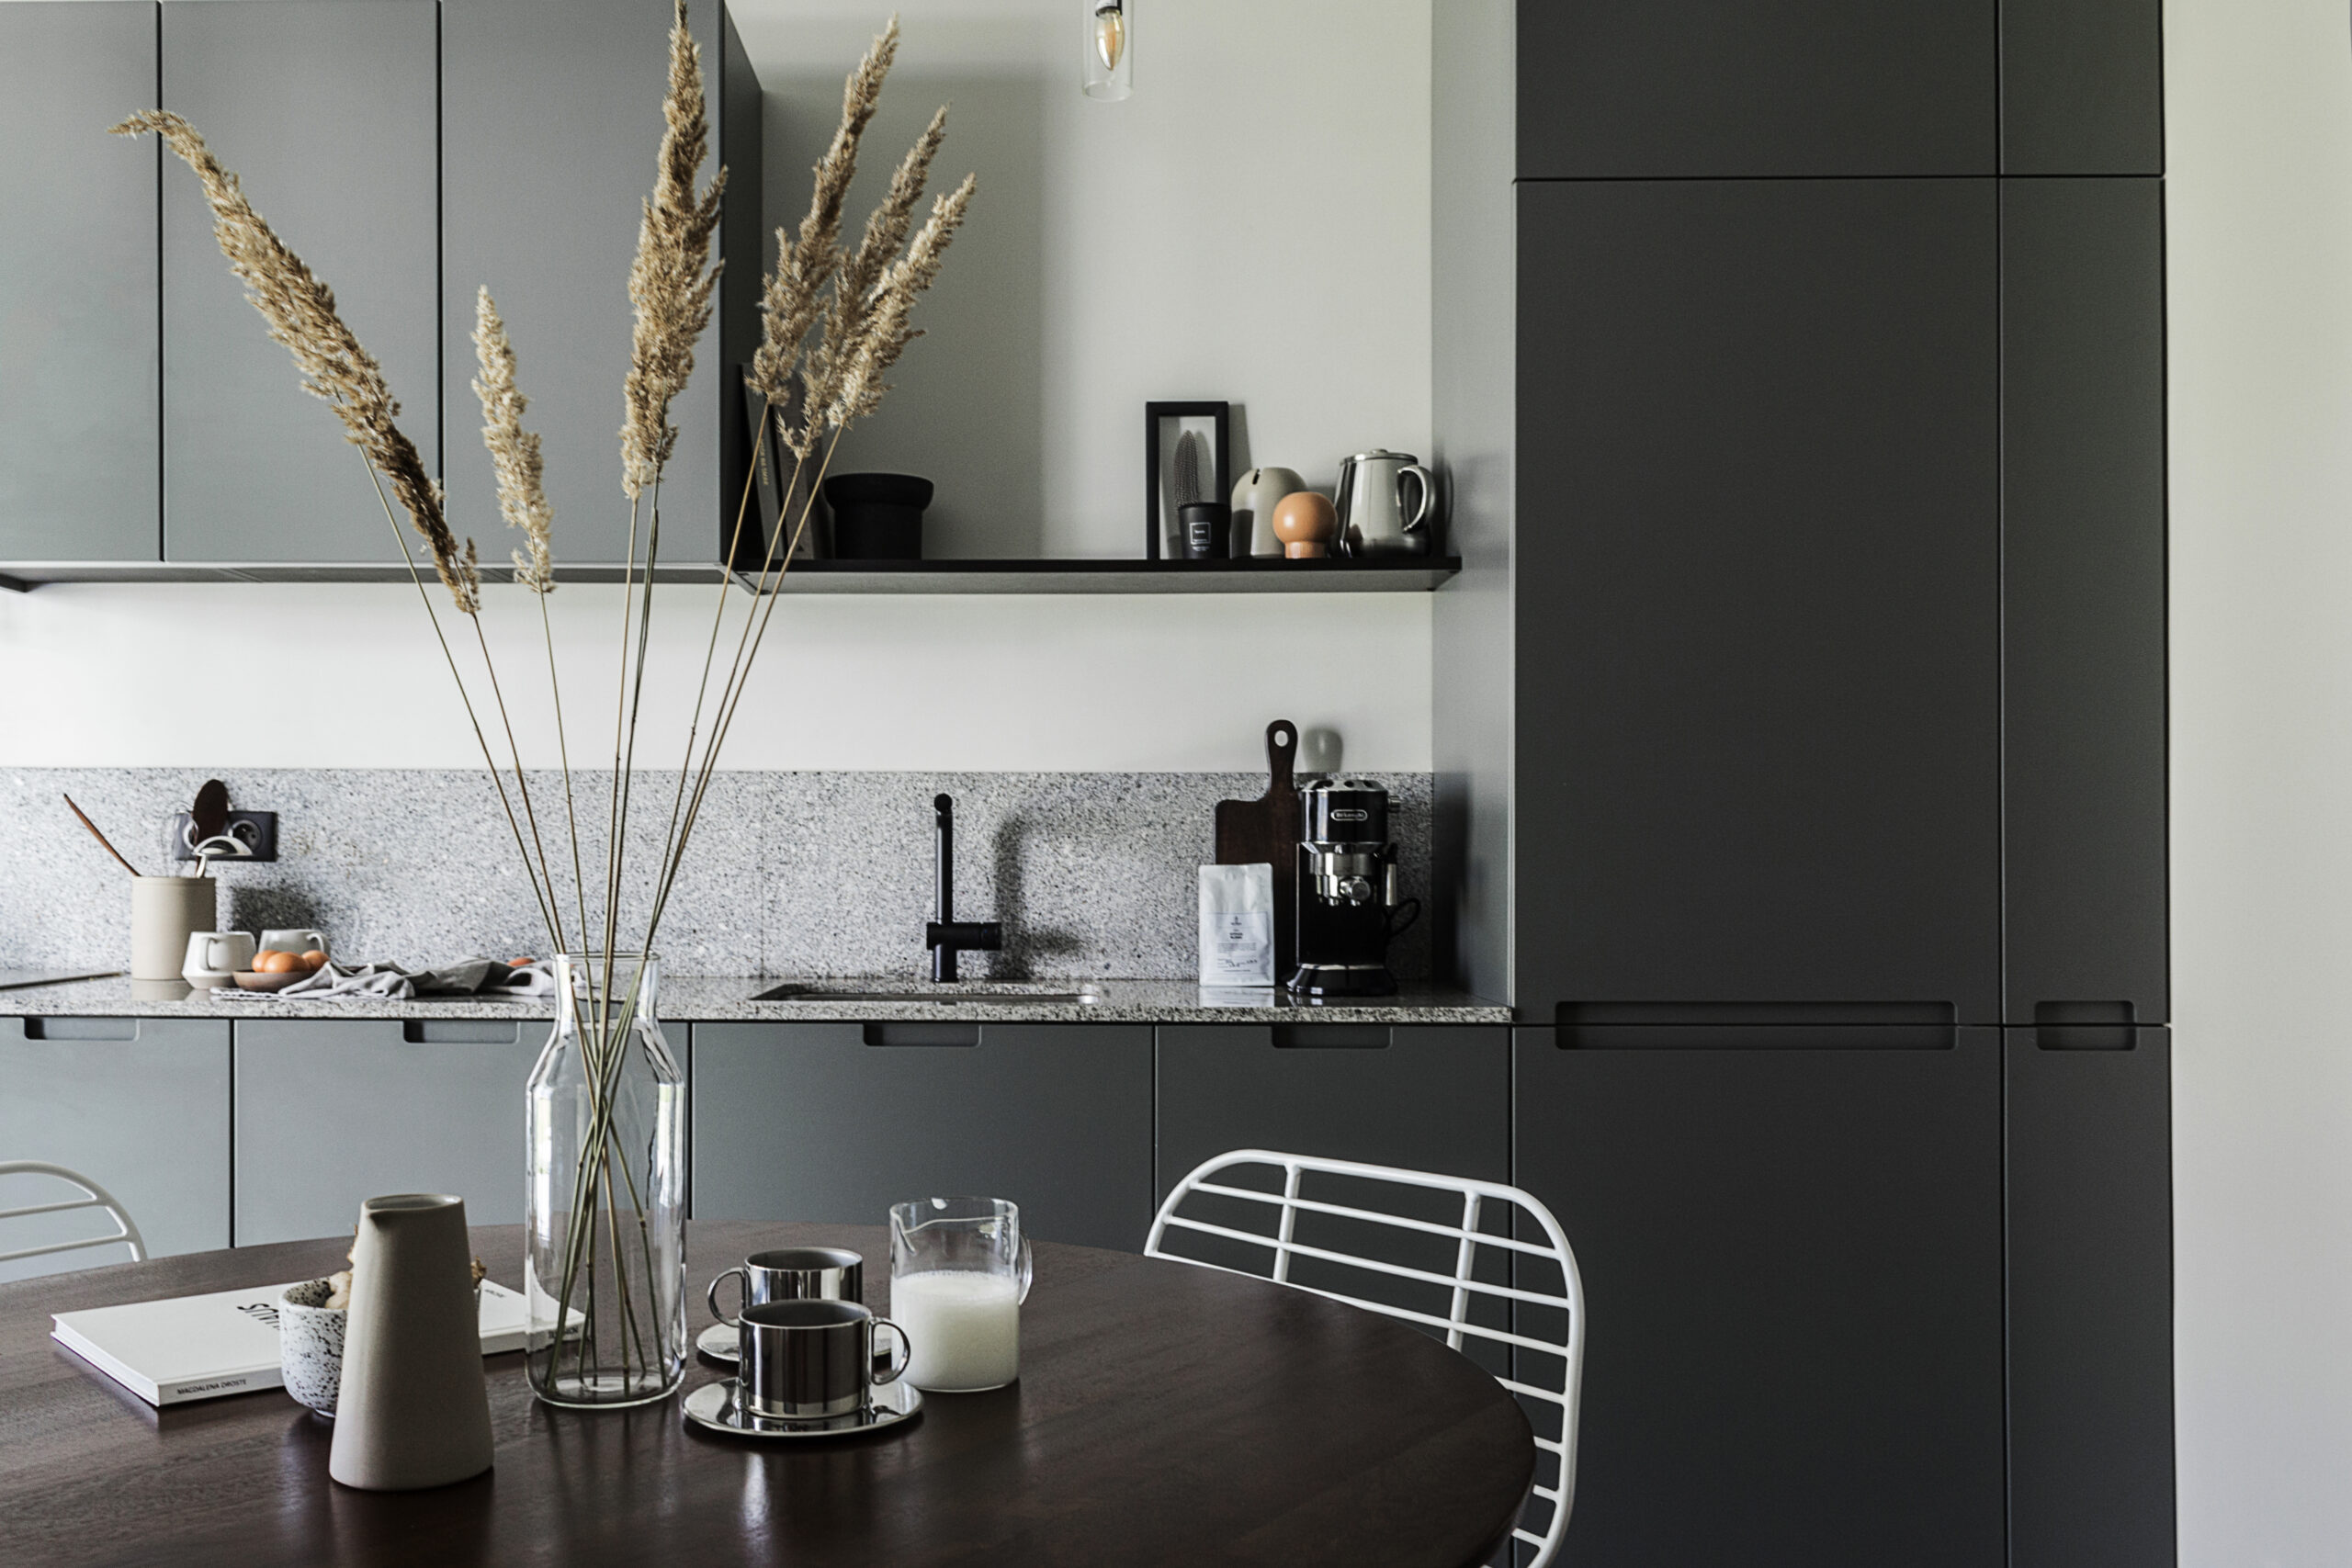
The PAX wardrobe from IKEA is a functional base that, with proper customisation, can be transformed into a unique, sculptural structure. Learn how to technically plan a wardrobe to complement your interior beautifully.
The biggest challenge is making the wardrobe perfectly fill the alcove. We have proven methods for this:
Visible side:
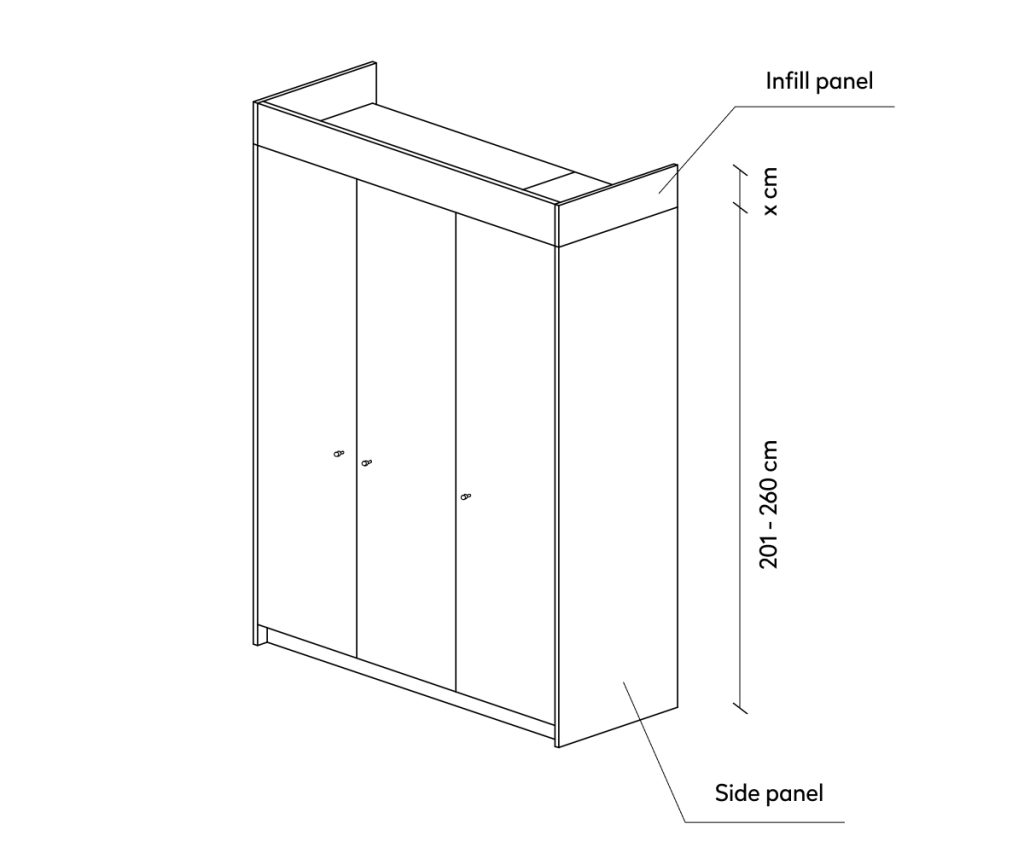
If your wardrobe isn’t located in a recess, be sure to use a side panel. Choosing a curved panel is a great way to lighten the shape and give it a lighter, sculptural silhouette.
Gaps by the wall:
Use infill panels to eliminate gaps between the wardrobe and the perpendicular wall. This will create a seamless unit.
Built-in to the very ceiling:
High interiors offer a wide range of design options. You can finish the top of the wardrobe in several ways
■ Standard height – classic ceiling-level panel:
Choose a 236 cm high PAX wardrobe and mask the remaining space above it with a horizontal infill panel that aligns with the fronts.
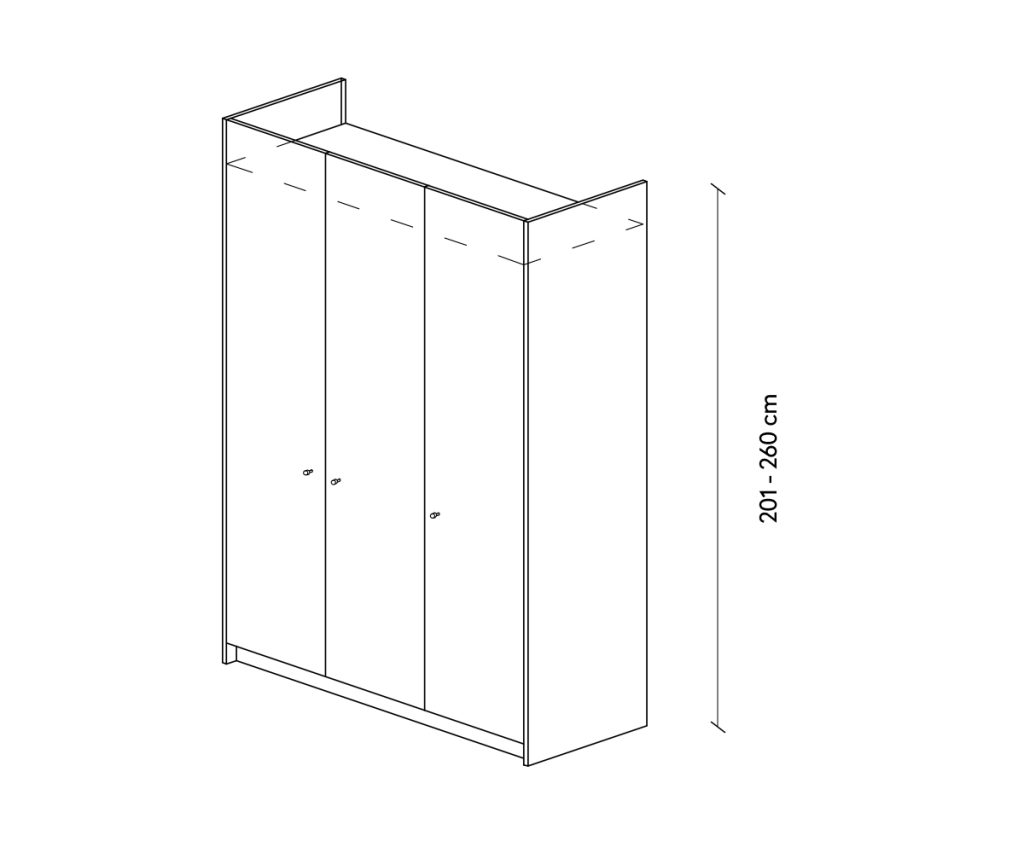
■ Wardrobe up to 260 cm without visible joints:
If your room is less than 260 cm high, you can achieve a seamless surface effect. Buy a PAX frame (236 cm) and order side panels up to 260 cm high (reaching from floor to ceiling) and fronts up to 253 cm high. The remaining 7 cm at the bottom is space for a plinth, which allows for easy door opening. If your room requires non-standard front heights between 229 and 253 cm, please provide the desired dimensions in the order notes, and we will make them especially for you.
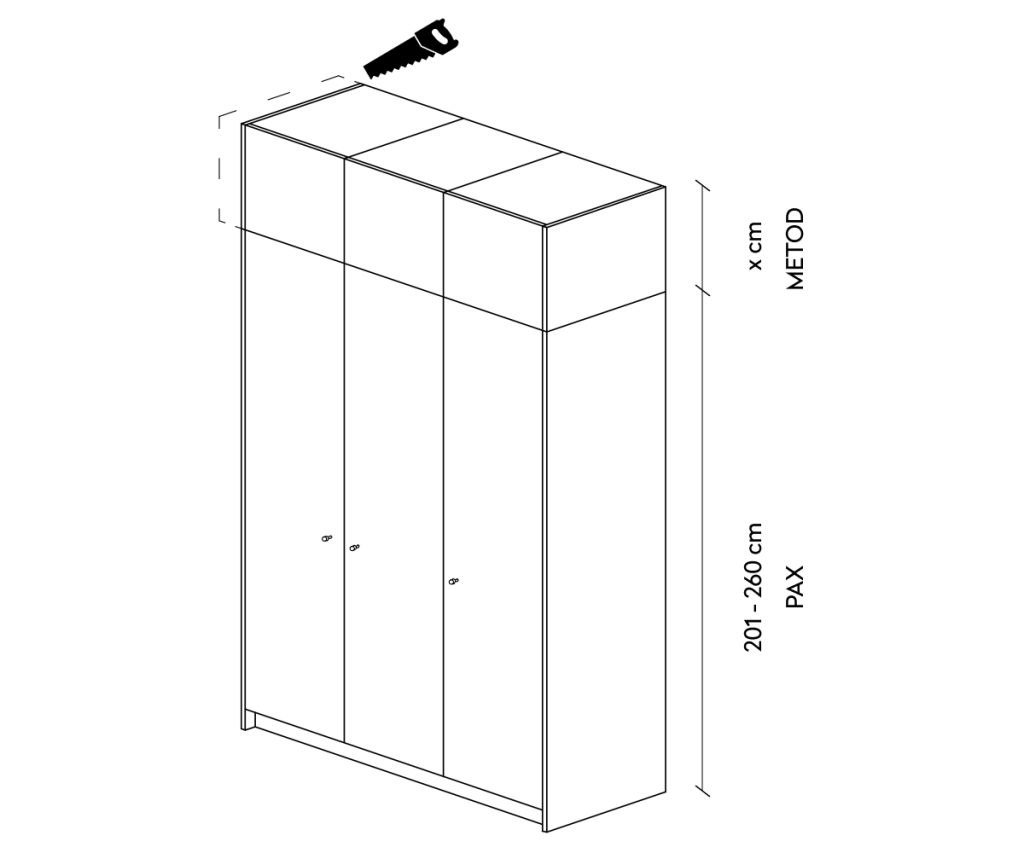
■ Above 260 cm – mix of systems (PAX + METOD):
If the ceiling is above 260 cm, it’s worth using extensions. Combine the PAX carcase (201 or 236 cm) with the METOD extension (60 cm wide, which can be cut to 50 cm). You can order custom-sized fronts for this set from us – simply select a similarly larger size in the configurator and provide the final dimensions in the order notes.
We use cookies to personalise content and ads, to provide social media features and to analyse our traffic. You consent to our cookies if you continue to use our website.